How to Make a Block in AutoCAD: The Complete Guide
Learn how to make a block in AutoCAD step-by-step. Discover best practices for Layer 0, base point setup, WBLOCK exports, and editing...

Ever opened an architectural drawing, went to measure a standard interior doorway, and realized AutoCAD was telling you it was 900 inches wide instead of 900 millimeters?
Or maybe you imported a block from a manufacturer, inserted it into your master floor plan, and it blew up to the size of a city block?
It is frustrating, isn’t it?
If you are looking for how to change units in AutoCAD, you are in the exact right place. Modifying measurement settings is one of those fundamental tasks every drafter, engineer, and architect encounters. But here is the catch: depending on whether you are starting a fresh project, inserting blocks, or trying to rescale an entire finished drawing, the steps you need to follow are completely different.
Whether your goal is to learn how to change the measurement units in AutoCAD for a new layout, figure out how to change autocad measurement unit settings on existing geometry, or simply understand how to change units autocad relies on for dimensions, this complete guide covers every method step by step.
Quick Answer
How do you change units in AutoCAD?
- Type
UNITS(orUN) in the command line and press Enter.- In the Drawing Units window, click the Type dropdown under Length (e.g., Architectural, Decimal, or Engineering).
- Under Insertion Scale, choose your desired units (e.g., Inches, Millimeters, or Meters).
- Adjust the Precision setting to your project’s requirement.
- Click OK to save changes.
Note: To rescale existing objects along with drawing units, use the
-DWGUNITScommand instead.
If you search the web for how to change units in autocad, almost every tutorial on page 1 tells you the exact same thing: type UNITS, pick Millimeters or Inches, and hit OK.
Then you return to your drawing area, run the DIST command, and realize nothing actually changed in your physical drawing geometry. Your lines didn’t scale; only your insertion settings did.
That single missing piece of information causes thousands of CAD drafters to waste hours manually scaling drawings with the SCALE command, often introducing rounding errors and misaligned layouts along the way.
Understanding basic AutoCAD operations comes down to knowing which tool matches your specific problem. When changing measurement systems, you must first identify what you are trying to accomplish.
Before running any commands, let’s clarify the three distinct unit systems inside every .dwg file:
                          ┌───────────────────────────┐
                          │   AutoCAD Unit Systems    │
                          └─────────────┬─────────────┘
                                        │
          ┌─────────────────────────────┼─────────────────────────────┐
          ▼                             ▼                             ▼
┌──────────────────┐          ┌──────────────────┐          ┌──────────────────┐
│ Insertion Scale  │          │ Drawing Geometry │          │ Dimension Display│
│  (`UNITS` / `UN`)│          │   (`-DWGUNITS`)  │          │   (`DIMSTYLE`)   │
└────────┬─────────┘          └────────┬─────────┘          └────────┬─────────┘
         │                             │                             │
 Controls scale when          Rescales physical             Controls how numbers
 blocks are inserted          drawing objects               appear on dimension
 into another drawing         and coordinates               lines and callouts
UNITS command / Shortcut UN): Defines the unit scale applied when you drag and drop external blocks, Xrefs, or raster images into your current drawing.-DWGUNITS command): Controls the actual global measurement system of the file. This command scales existing objects automatically when switching between Metric and Imperial.DIMSTYLE command / Shortcut D): Controls how numbers, ticks, and feet/inch symbols are formatted on annotation dimension lines without altering object geometry.UNITS Command)Use this method when starting a fresh drawing or configuring your workspace so imported blocks automatically scale correctly.
Open the Drawing Units Dialog Box:
Type UNITS or simply UN in the command prompt and press Enter.
0.00 for general drafting or 1/16" for carpentry layouts).Set the Insertion Scale: Locate the dropdown menu labeled Units to scale inserted content. Select your target units (e.g., Inches, Millimeters, Centimeters, or Meters). Why this matters: If your drawing is set to Inches and you drag in a block defined in Millimeters, AutoCAD automatically scales the block by a factor of 25.4 so it fits seamlessly.
Configure Angle Settings (Optional): Under the Angle section, set your preferred angular format (Decimal Degrees, Deg/Min/Sec, or Grads). Keep Clockwise unchecked unless your surveying standard requires it.
-DWGUNITS)If you have a completed drawing in Imperial units (Inches) and need to convert the entire drawing—including all existing lines, polylines, blocks, and civil site geometry—into Metric (Millimeters or Meters), the standard UNITS dialog box won’t work.
Instead, you need the command line-driven -DWGUNITS tool. (Be sure to include the hyphen - before the command!). This is vital in complex drafting scenarios where unit precision directly impacts measurements and calculations.
-DWGUNITS into the command prompt and press Enter.Meters ```
3 for Millimeters or 6 for Meters) and press Enter.2 for Decimal).Y (Yes) and press Enter.Y (Yes) and press Enter.Y (Yes) and press Enter. (This is the critical step that rescales your geometry!)Y (Yes) and press Enter so title blocks and layout viewports scale proportionally.AutoCAD will immediately process the file and rescale all objects to match your new unit system. Run ZOOM > Extents (Z > E) if your drawing disappears from the screen during conversion.
DIMSTYLE)Sometimes your drawing geometry is accurate, but your dimension lines are displaying measurements in the wrong format (e.g., showing 18.5" instead of 1'-6 1/2").
To fix annotation formatting:
DIMSTYLE (or D) and press Enter.1.0 for standard 1:1 model space dimensioning.25.4.For a visual demonstration on using both UNITS and -DWGUNITS to convert drawing files without corrupting scale, watch this step-by-step video tutorial:
Watch: How to Change Units in AutoCAD (Step-by-Step Video)
| Symptom / Problem | Underlying Cause | Quick Solution |
|---|---|---|
| Inserted blocks appear 25.4x too large or small. | Mismatch between drawing INSUNITS and the block’s source units. |
Set INSUNITS to match in both files via UNITS menu. |
Objects stay the same size after changing UNITS. |
The UNITS command only alters insertion scale, not geometry. |
Use -DWGUNITS to rescale drawing geometry. |
| Dimensions show decimal numbers instead of feet/inches. | Dimension style unit format is set to Decimal instead of Architectural. | Open DIMSTYLE > Primary Units > Change Unit format to Architectural. |
| Coordinates jump or disappear after unit change. | Drawing origin point (0,0) is far away from geometry. |
Perform ZOOM > Extents (Z > E) to relocate drawing. |
The primary shortcut is UN (or UNITS), which opens the Drawing Units dialog box. For scaling drawing geometry, use the command line string -DWGUNITS.
To change insertion scale only, type UN, set Units to scale inserted content to Millimeters, and click OK. To convert all existing geometry in the drawing from Inches to Millimeters, type -DWGUNITS, choose 3 (Millimeters), and answer Yes when AutoCAD asks to scale existing objects.
The standard UNITS dialog box only changes settings for new blocks brought into the drawing. It explicitly prevents existing geometry from altering size. To physically convert existing lines and shapes, you must use the -DWGUNITS command or manually apply the SCALE command with a conversion factor (e.g., 25.4 for inches to mm, or 0.03937 for mm to inches).
If you updated units and need to rename updated block definitions, type RENAME (or REN) in the command line. Select Blocks under Object Type, pick your block from the list, enter the new name in the Rename To field, and click OK.
To permanently erase unneeded block definitions and reduce file size, type PURGE (or PU). Select Blocks, check Purge nested items, and click Purge All Checked Items. Note that blocks must first be deleted (ERASE) from the drawing canvas before they can be purged from the database.
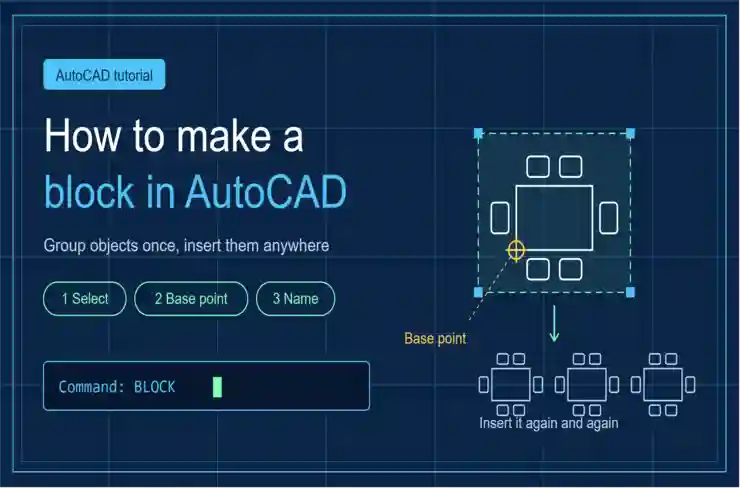
Learn how to make a block in AutoCAD step-by-step. Discover best practices for Layer 0, base point setup, WBLOCK exports, and editing...
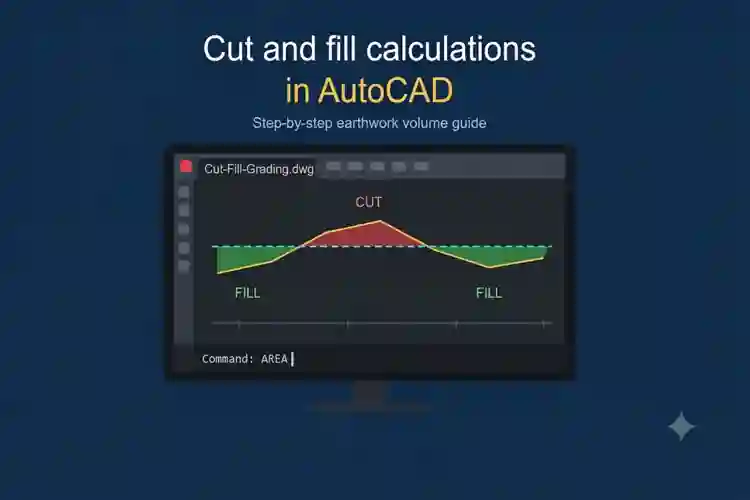
A complete step-by-step guide to mastering cut and fill calculations in AutoCAD Civil 3D, earthwork volume dashboard workflows, and site grading precision....
A complete step-by-step guide on scaling by reference and alignment in AutoCAD without calculating scale factors manually.
Free, short and practical. No spam, unsubscribe anytime.
Thanks! You are on the list.